Modelling with Blender
Whilst the built in tools for creating scene geometry are great, if you want to make bigger scenes it will be easier to make them first in a 3D modelling tool and then import them into the engine. One of the best 3D modelling tools out there is Blender, so here's quick tutorial on how to use it with Chrome Engine
Modelling your scene#
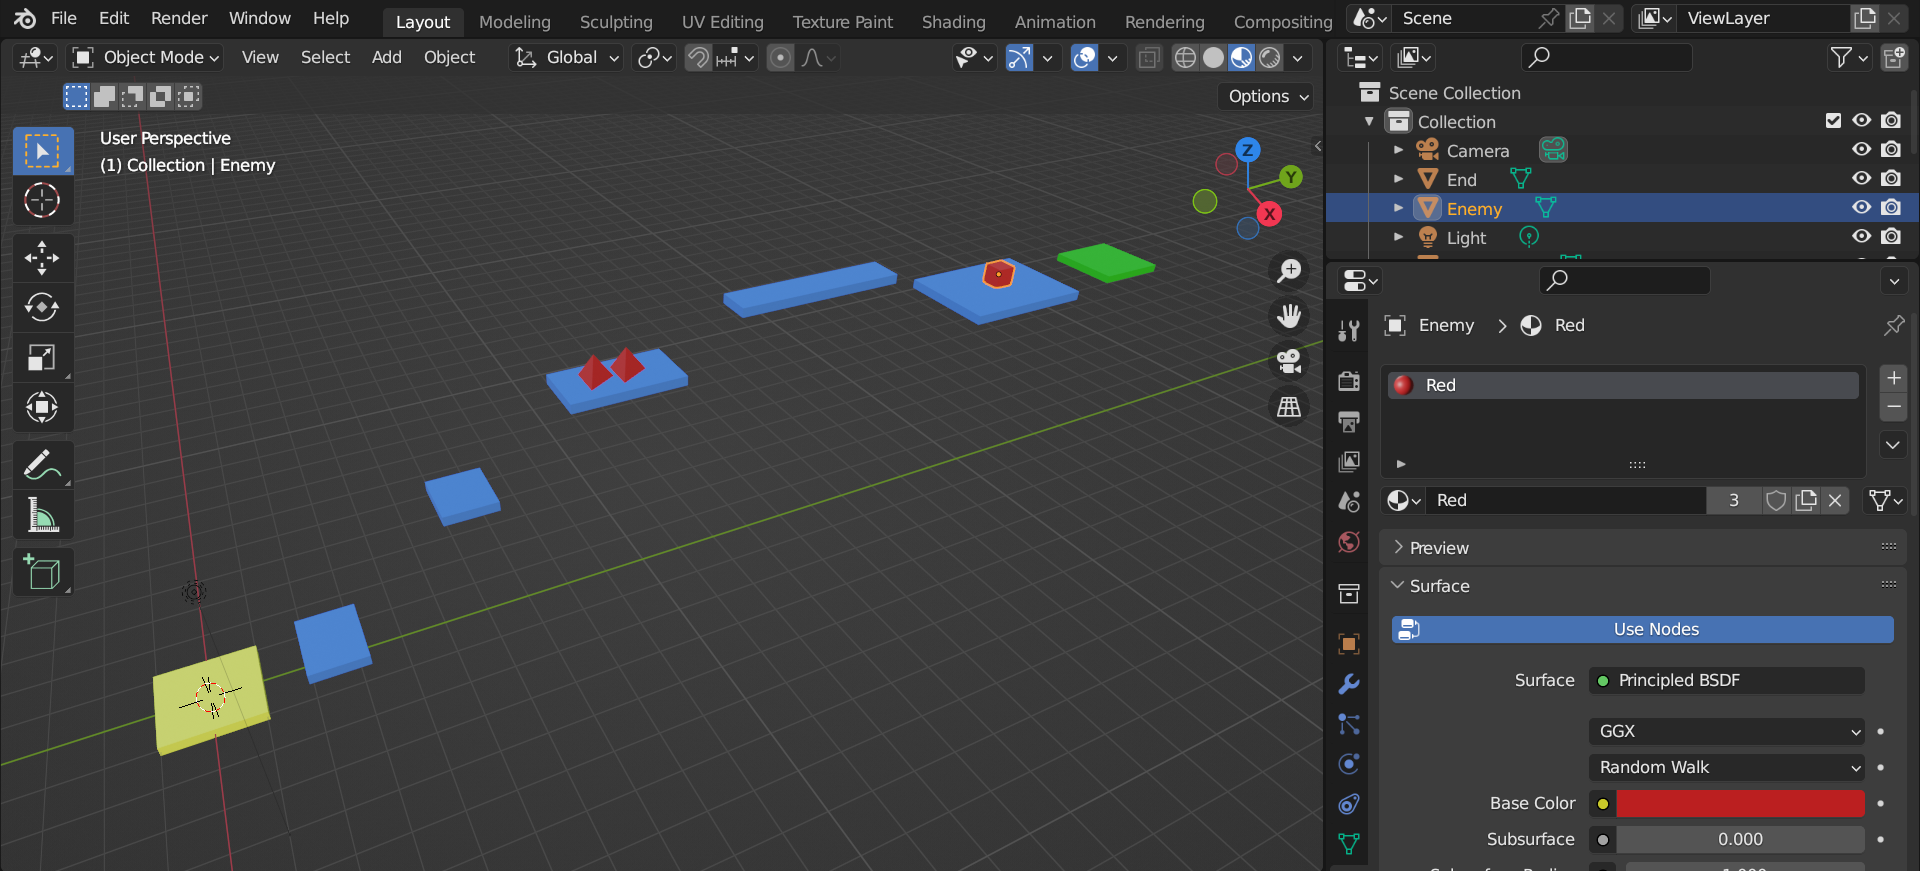
We're not going to cover how you make the scene as there are plenty of great Blender tutorials out there. We'll assume you have your scene ready to go. Here's an example scene from the Platformer Tutorial:

Blender to ChromeEngine coordinates#
Whilst modelling details or setting positions you might want to specify specific coordinates. Unfortunately you can't get the coordinate of vertices yet in ChromeEngine however you can do this in Blender.
- Enter
Edit Modeand right click on a vertex - press
Nto open properties, and from there you can see the coordinates of the vertex.- Tip: make sure to set to Global!
- ChromeEngine and Blender use different coordinate systems but you can easily convert them by just swapping the y and z value. And multiplying the new z by negative 1.
Preparing dynamic objects for ChromeEngine#
When you import your scene into ChromeEngine the transform origin of each object will always be the origin. This can be problematic, as when we try to transform these objects and their transform center lies at the origin instead of the center of the object, our transformations will be wrong.
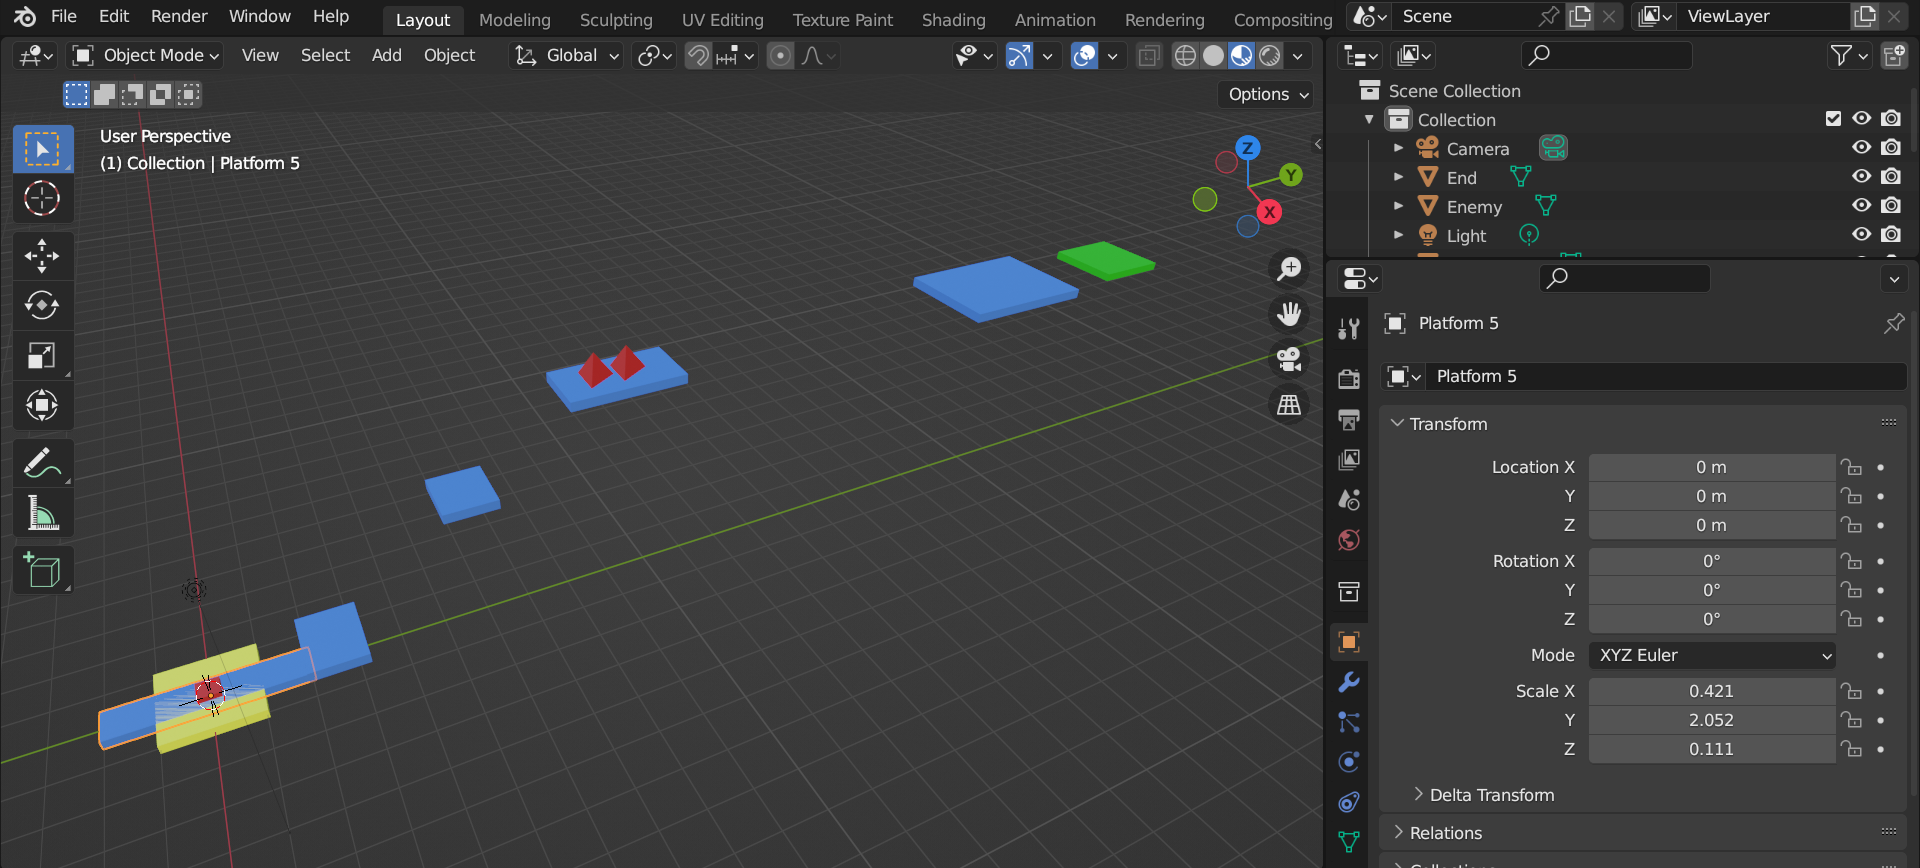
To fix this we must reposition our dynamic objects so that their center of rotation is at the origin. We can do this like this:
- Navigate to the
Object Propertiestab in thePropertiespanel. - Write down the current Location value, so that we can reposition back to this location later.
- Set the Location to 0, 0, 0
Here's what this looks like for the example scene from before:

Importing and exporting the mesh#
Exporting your mesh#
Once you've finished designing your game scene in Blender, export it as an .obj file.
- Select your objects.
- Go to
File->Export->Wavefront (.obj). - In the export settings, make sure to disable exporting normals or UVs.
Importing your mesh#
Now that you have your beautiful .obj file, let's bring it into your ChromeEngine game. To do this we can use the importFromOBJFile block:
GameObjects.importFromOBJFile \( CW orientated? <> scale [1] align_center <> .obj file data \(leave blank if using _OBJ list\) []\) :: custom
This block when placed within Setup Scene objects will let you import a mesh as a ChromeEngine GameObject. It has the following inputs:
CW orientated?indicates whether your object has clockwise or anticlockwise orientated faces. If your model appears "inside-out" it's probably because this is set wrongscale- this is the size of the model on load. ChromeEngine uses BSP and expects all your vertices to be on a normalized scale between -1 to 1. If you find BSP messed up your mesh you should try changing the scale.align-centre- this will re-centre your mesh, which is helpful if you want to apply rotations to your object, or your mesh file isn't your own..obj file data- used if you want to copy and paste obj file data into an input instead of setting the _OBJ file data.
To import the file, assign the function to a variable, right-click on _OBJ, select import from file, and choose the .obj file you exported earlier.
Moving the dynamic objects back#
Previously we moved all the dynamic objects to 0,0,0 so that their rotation centres would be the same as their local origins. However now we need to move them back. The recommended way to do this is to go to the Logic sprite, and add to GameObjects.setup() custom block a setPosition block for each dynamic object, to set it's position back to what it used to be. Thankfully we made sure to write down all the old positions! Remember ChromeEngine and blender don't have the same coordinate system so you will need to convert the coordinates (reminder: we do this by swapping the y and z value. And multiplying the new z by negative 1). Here's an example of how to re-position a dynamic object back to it's old location:
define GameObjects.setup\(\):
    GameObject.setPosition \( object name [Platform 3] position  [0.6] [3.6] [-5.2] \) :: custom
Importing multiple meshes using obj file data input#
Importing our .obj file to _OBJ and loading it once works fine if you have one single level but often your game will need to have many levels, so how would you do this? Thankfully ChromeEngine has you covered. Instead of importing your .obj file into the _OBJ list simply copy and paste it and put it in the optional .obj file data input in the GameObjects.importFromOBJFile block!
GameObjects.importFromOBJFile \( CW orientated? <> scale [1] align_center <> .obj file data \( leave blank if using _OBJ list \) [Copy and paste your .obj file here, instead of importing it to _OBJ]\) :: custom
Pre-compiling on Turbowarp and exporting with ExportScene#
If your mesh is very complex, the BSP tree generation will take forever on regular scratch so we recommend you use turbowarp to generate your BSP tree and then import it into ChromeEngine. To import an obj file along with a pregenerated bsp tree use ExportScene
_OBJ = exportScene\(\) :: custom
All you need to do is click the green flag and wait for your game to be "compiled" via ChromeEngine on turbowarp, then click on the ExportScene, and your new custom ChromeEngine .obj file will be stored in the _OBJ list. You can now right click the list, click export and then use this .txt file in your regular Scratch version instead. If you use an obj file which is of the ChromeEngineOBJ format ChromeEngine automatically detects this and loads your BSP tree from the file instead of generating it, which makes loading times much faster.
Materials#
Exporting an MTL file#
Materials play a crucial role in defining the appearance of 3D objects. They determine their color, texture, and surface properties like shininess. To create materials, we'll be using Blender, a powerful software. We can then export these materials into ChromeEngine scenes using a file format called MTL.
To ensure proper export, remember to use the "Principled BSDF" shader when setting up materials in Blender. Here's a step-by-step guide on exporting an MTL file:
- Open Blender and create or modify your materials using the "Principled BSDF" shader.
- Once you're satisfied with your materials, navigate to
File > Export > Wavefront (.obj). - In the export options panel, make sure to enable the
Write Materialsoption, and then proceed with the export.
Importing an MTL file#
Now that you have your MTL file, it's time to import it into ChromeEngine. Follow these steps:
- Open the MTL file with a text editor of your choice.
- Copy the material data from the file.
- Paste the copied data into the
Materials.importFromMtlFilefunction within ChromeEngine.
Here's an example of how it should look:
Materials.importFromMTL\(.MTL file data [your file data goes here]\) :: custom
put this block BEFORE the importFromOBJFILE block!
importFromMTL must come before importFromOBJFile#
Inorder for ChromeEngine to know that your obj file has valid textures you need to run the importFromMTL block BEFORE you run the importFromOBJFile block
Materials.importFromMTL\(.MTL file data [your file data goes here]\) :: custom
GameObjects.importFromOBJFile \( CW orientated? <> scale [1] align_center <> .obj file data \(leave blank if using _OBJ list\) []\) :: custom